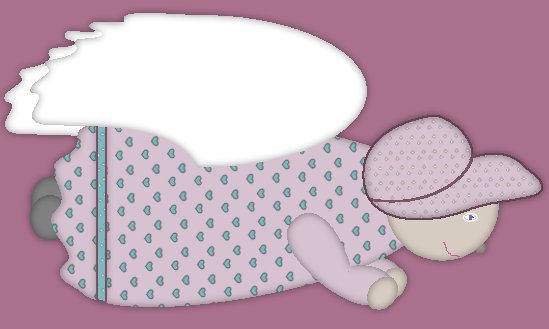
  BR> Ok for this tutorial you will need my selections that are zipped up here, and you will need jasc psp 7. Also these are the colors I used Dress color=#D6C2D0 Hat color=#D6C2D0 Wing color=#FFFFFF Border color=#7B5266 Eye color=#6B6FB5 Nose color=#B5ACA3 Skin color=#D7CCC1 Boot color=#808080 acents(the hearts and lower border on dress) color=#7DB8BE I placed all the colors I used up above so just in case I forgot to mention what color I used for what you will know for this tutorial you may save this to your hard drive to pull up for later use. For most of the steps when concerning flood fill with the selection new layer, flood fill, invert selection and drop shadow, new layer.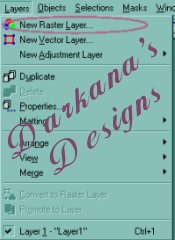 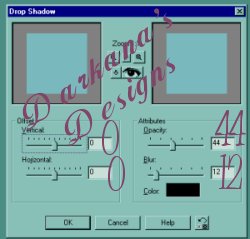 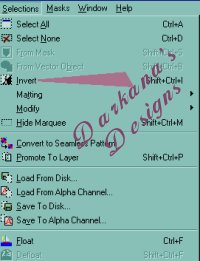 To start off open a new image 600x400. Create a new layer, open up selection angeldress.sel and flood fill it with the color of your choice. I used #D6C2D0. Invert the selection and drop shadow. (I added a pattern to the dress and hat..you may want to as well) create a new layer and open the selection angelhead.sel and flood fill it in with #D7CCC1, invert selection and drop shadow. Create a new layer, open selection angel hat flood fill with choice color I used the same color I used for the dress. invert selection and drop shadow. Create a new layer, open selection file angelarm1.sel. flood fill, invert the selection and drop shadow. Create a new layer, open selection file angelarm2.sel. Flood fill, invert the selection and drop shadow. Adjust this layer just under the layer the dress sel is on. Create a new layer, open selection file angelboot1.sel. Flood fill, invert the selection and drop shadow. Adjust this layer just under the layer the dress selection is on. Create a new layer, open selection file angelboot2.sel. Flood fill, invert the selection and drop shadow. Adjust this layer just under the layer the dress selection is on. Create a new layer, open selection file angelwing1.sel. Flood fill, invert the selection and drop shadow. Create a new layer, open selection file angelwing2.sel. Flood fill, invert the selection and drop shadow. Adjust this layer just under the layer the dress selection is on. Well We are almost done all we have left to do is the face. ok click on the face layer and create a new layer (sounds familar eh?) with your shape tool create an oval antalis checked and create as a vector unchecked and line with 1. Make it small because this is gonna be the eye. Take our magic wand and select inside of your oval and zoom up close. Click on your paint brush tool The nose is fairly simple create once angain another layer and draw a circle with the shape tool (or an oval) fill it in, invert selection and then drop shadow. Slide this layer under the head layer...so it pokes out just a little. For the smile I just used the paint brush with the same set up and color #7B5266 and drew a half smile up. It doesnt need to be perfect Poof you are all done...all you have to do is merge your layers and save. | HOME
| GRAPHICS | S.GLOBES |
|

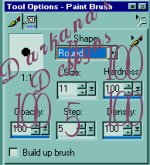 and select the blue off your palette. Make it look like the iris of an eye.